Want that cozy, layered look you see all over Pinterest? Those boutique pillows cost way too much.
Here’s the truth: you don’t need a sewing machine. Or expensive fabric. These 13 easy decorative pillow ideas will transform your couch in under an hour.
No perfection required here. Just fun, messy, creative wins.
Grab a glue gun. Some scissors. Maybe fabric paint. That’s basically the whole supply list.
You’ll get boho fringe, modern leather straps, cozy chunky knits, and playful tassels. Each project takes 30 minutes max. Most use stuff from your local dollar store or craft aisle.
And the best part? Swap them out for every season without spending a fortune.
Ready to make your living room look like a million bucks? Let’s dive in.
1. No-Sew Fringe Pillow—Add boho texture instantly with fabric glue and fringe trim.
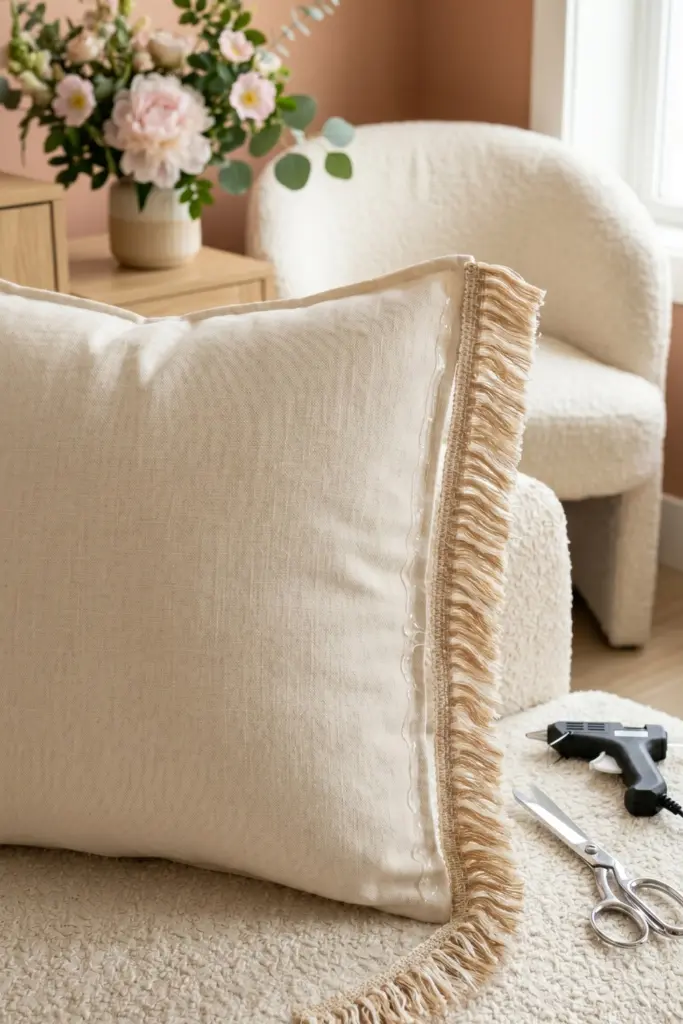
Love boho? Fringe does it. No sewing. Just glue and trim. Instant texture.
Step-by-step:
- Buy a plain pillow cover
- Cut fringe trim slightly longer than each edge
- Run fabric glue along one edge
- Press fringe into glue, hold 10 seconds
- Repeat all sides. Dry overnight!
Enhancements: Layer two fringe colors (tan + cream) for depth
Tip: Use a low-temp glue gun if you’re impatient—it sets faster
2. Paint-Dipped Pillow Cover—Use fabric paint to create an ombré effect on plain white pillows.
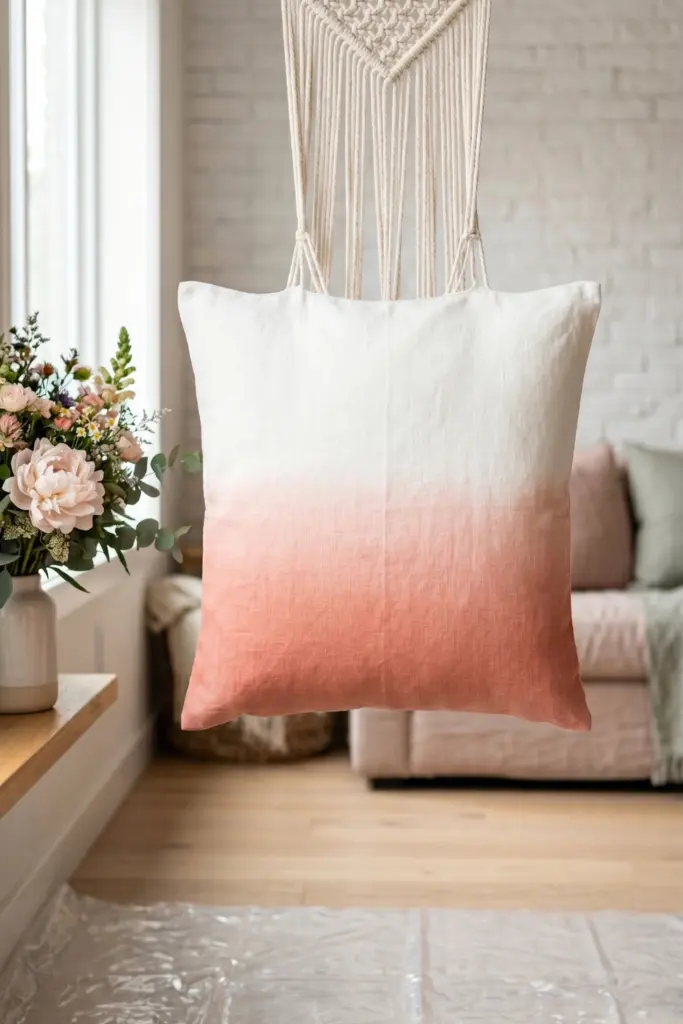
Ombré is easier than it looks. Dip, hang, dry. You get a gradient that costs pennies.
Step-by-step:
- Mix fabric paint with water (2:1 ratio) in a shallow container
- Dip the bottom third of the pillow cover into paint
- Pull out slowly, let excess drip
- Hang dry for 2 hours
- Heat-set with iron per paint instructions
Enhancements: Dip again in a darker shade for a multi-tonal effect
Tip: Lay down a plastic drop cloth—this gets messy
3. Tassel Corner Pillows—Sew or glue tassels to four corners of a square pillow for playful charm.
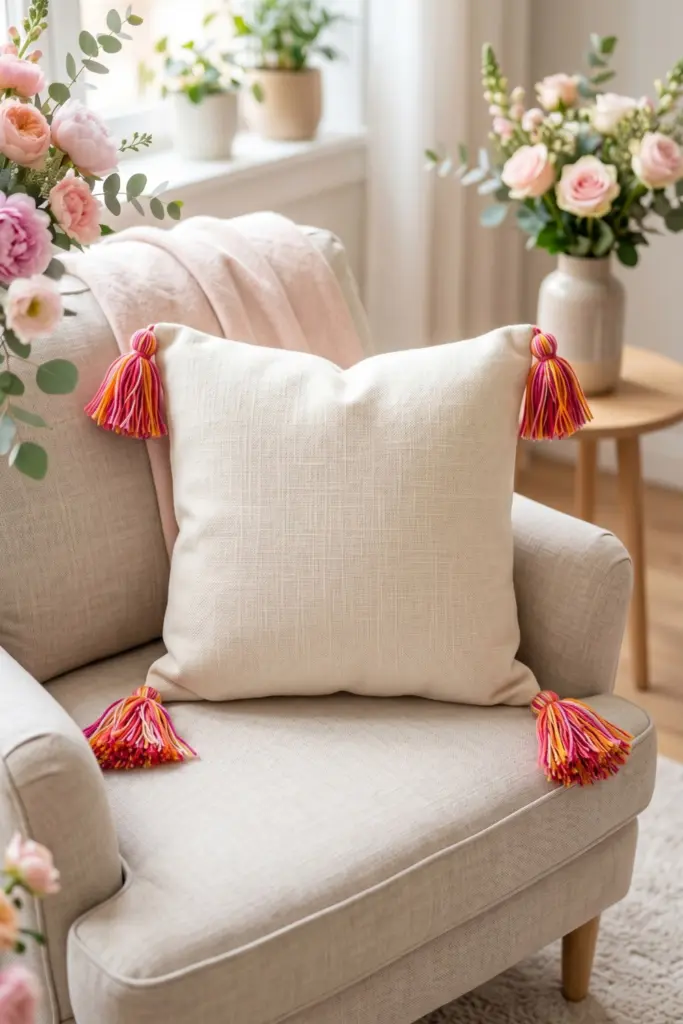
Tassels make everything happier. Attach to all four corners. Instant whimsy.
Step-by-step:
- Mark 1 inch (2.54 centimeters) from each corner on the pillow cover
- Apply strong fabric glue or hand-sew a tassel at each mark
- Let glue dry 1 hour before fluffing
- For sewing, use a curved needle through the tassel loop and pillow seam
Enhancements: Mix tassel colors (pink, orange, yellow) for a fiesta look
Tip: Glue is faster, but tassels may fall off in the wash—hand-wash only
4. Stenciled Pattern Pillow—Apply geometric or floral stencils with fabric paint for custom art.
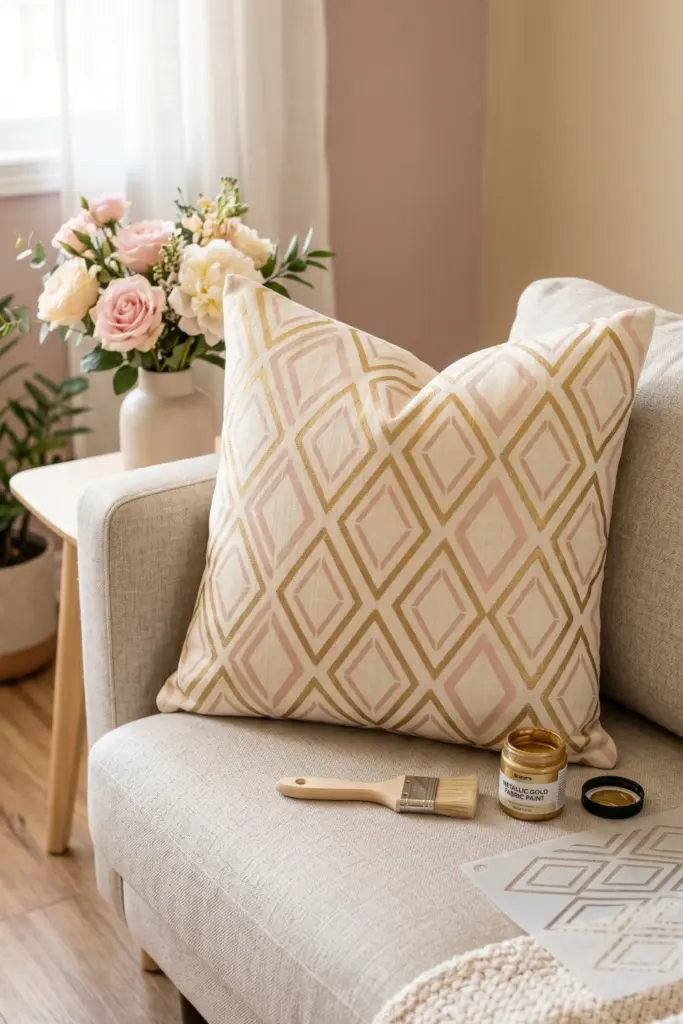
Can’t draw? Stencils do the work. Tape, dab, peel. Custom art in minutes.
Step-by-step:
- Tape the stencil firmly onto the pillow cover
- Load stencil brush with fabric paint (dab off excess)
- Pounce paint straight down—don’t swipe
- Remove stencil while paint is wet
- Dry 24 hours, then heat-set
Enhancements: Use metallic paint for a glam touch
Tip: Test on a paper towel first to avoid bleeding
5. Chunky Knit Pillow Wrap—Wrap a store-bought insert with a chunky knit blanket for cozy texture.
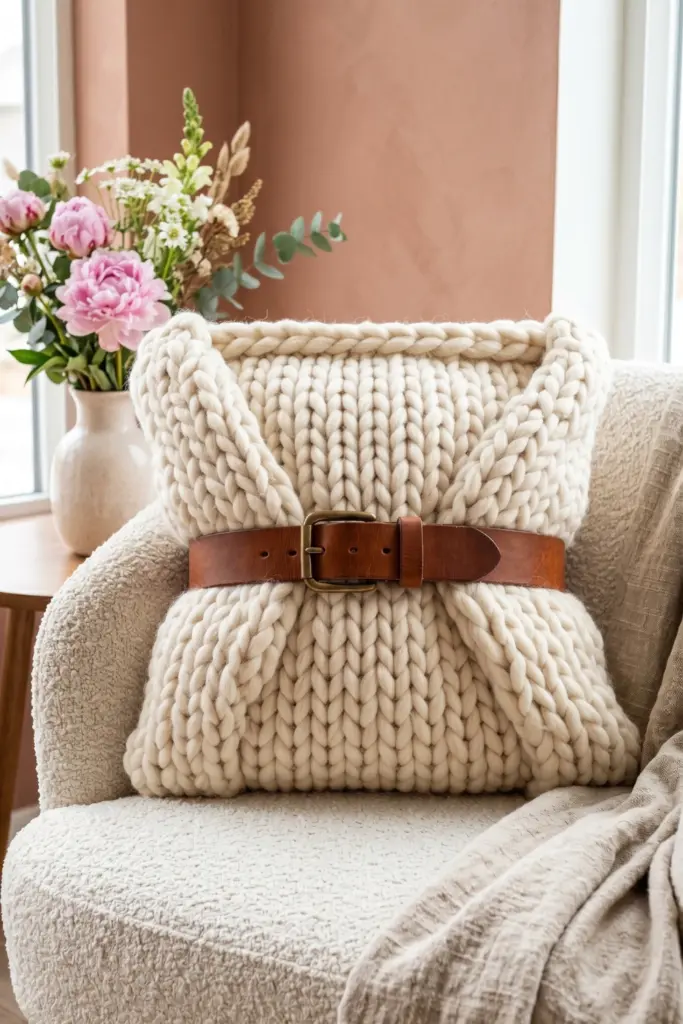
This is almost cheating. Wrap a knit blanket around your insert. Tuck the ends. Done.
Step-by-step:
- Lay the chunky knit blanket flat
- Place pillow insert in the center
- Fold one side over, then the other (overlapping)
- Tuck excess fabric into the back like a burrito
- Fluff to hide the tucks
Enhancements: Add a leather belt around the middle for a wrapped-gift look
Tip: Choose a knit with large holes—it grips the pillow better
6. Button Embellished Pillow—Sew colorful buttons in clusters on a solid cover for vintage flair.
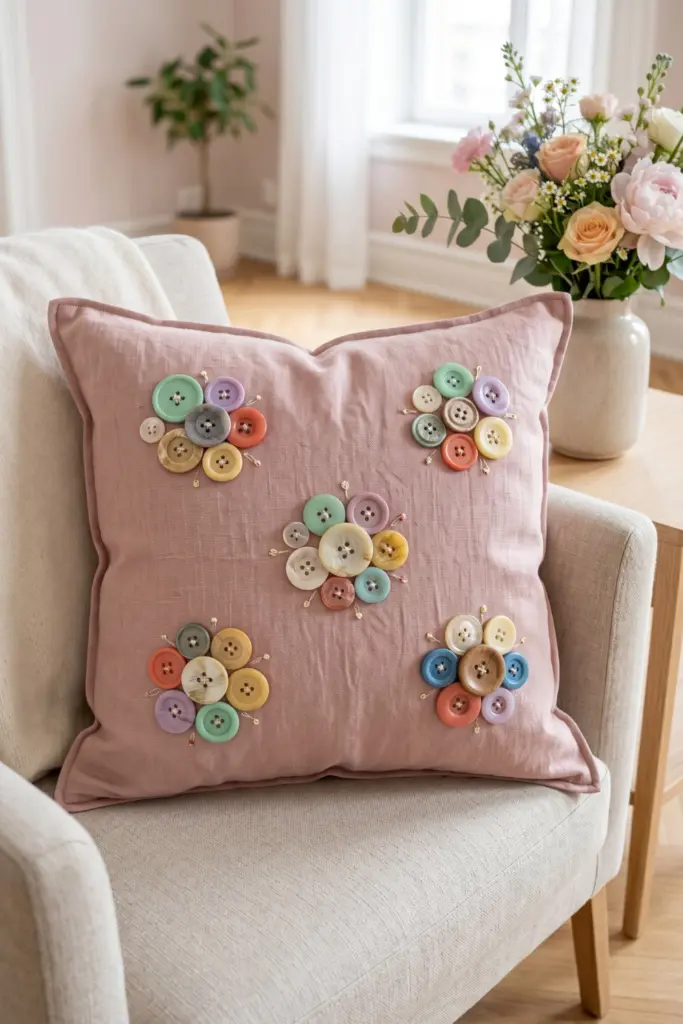
Grandma chic is back. Raid your button jar. Sew clusters onto a solid pillow.
Step-by-step:
- Arrange buttons in groups of 3-5 on the pillow cover
- Thread needle with strong thread, knot at end
- Sew each button through both holes
- Tie off securely on the back side
- Repeat for 4-5 clusters across the pillow
Enhancements: Layer small buttons on top of larger ones
Tip: Use fabric glue if you hate sewing—let it cure 24 hours
7. Layered Lumbar Pillow—Place a patterned lumbar in front of a larger neutral pillow for depth.
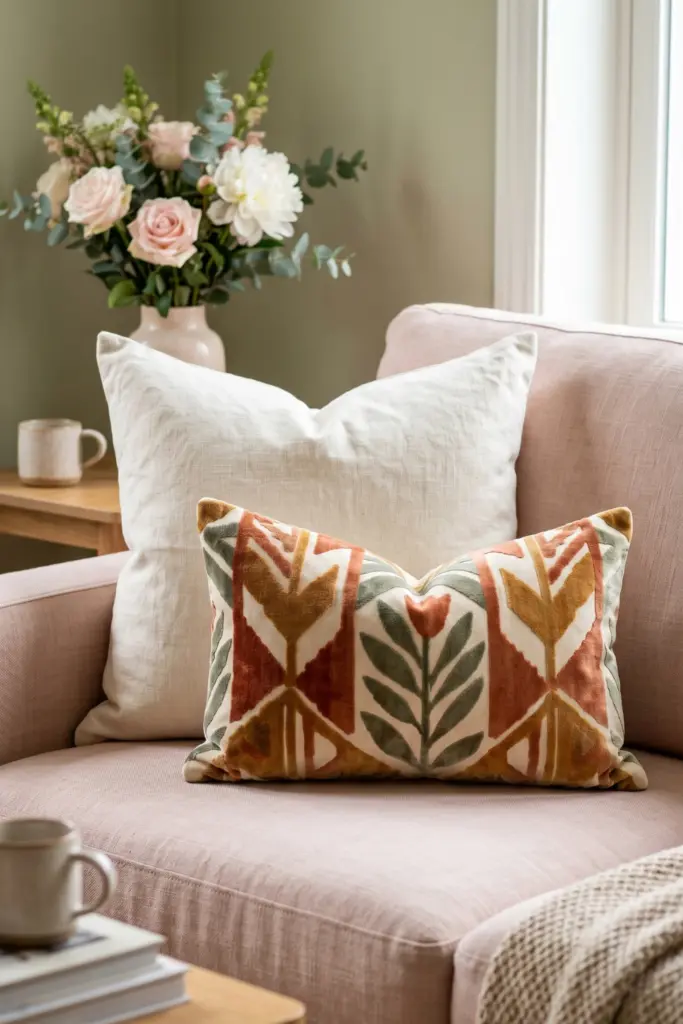
The easiest trick. Big neutral square + smaller patterned lumbar. Instant designer depth.
Step-by-step:
- Start with a large solid square pillow (20×20)
- Choose a lumbar pillow (12×20) with a bold pattern
- Place lumbar centered in front of square pillow
- Angle slightly for a casual feel
- Fluff both
Enhancements: Add a tiny round pillow in front for a maximalist look
Tip: Mix textures, not just patterns—velvet + linen works beautifully
8. Ruffle Edge Pillow—Attach a strip of ruffled fabric around the edges for feminine softness.
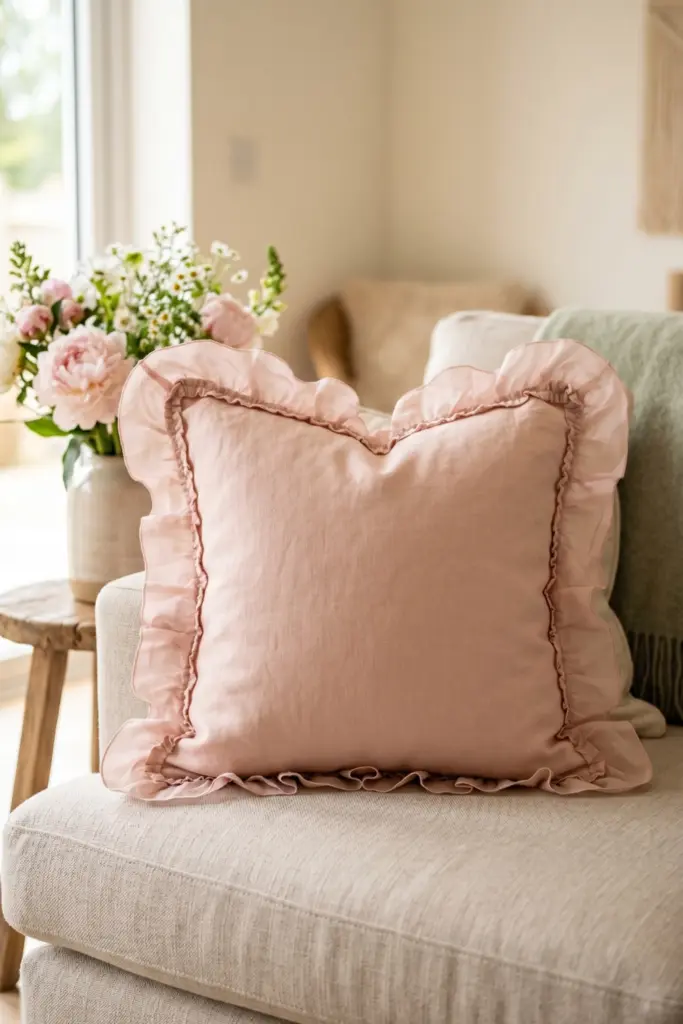
Ruffles soften any space. Buy pre-gathered trim. Glue or sew around all four edges.
Step-by-step:
- Cut ruffle trim 4 inches (10.16 cm) longer than the pillow perimeter
- Start at one corner, apply fabric glue along the edge
- Press the ruffle down, gathering as needed
- Overlap ends at starting corner, trim excess
- Let dry flat for 2 hours
Enhancements: Layer two ruffles (sheer + solid) for extra flounce
Tip: Sewing gives a cleaner finish – glue is fine for light use
9. Monogram Letter Pillow – Iron-on vinyl letters or use fabric markers to add initials.
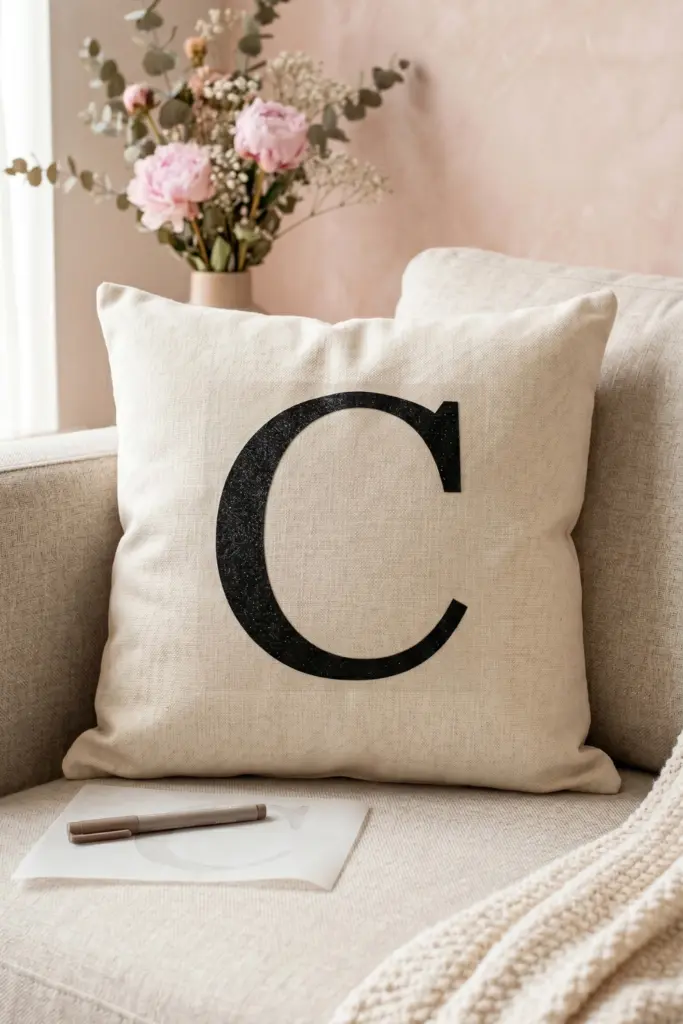
Personalize it. Iron-on vinyl or a fabric marker. Add your last initial. Or spell “COZY.”
Step-by-step:
- For vinyl: cut letter from iron-on sheet, place on pillow, iron per instructions
- For marker: trace letter using stencil or freehand, fill in
- Let marker dry 24 hours, then heat-set with iron
- Vinyl is ready immediately
Enhancements: Use glitter vinyl for sparkle
Tip: Test marker on scrap fabric first – some bleed
10. Shibori Tie-Dye Pillow – Fold, bind, and dip-dye a white cover in indigo for Japanese style.
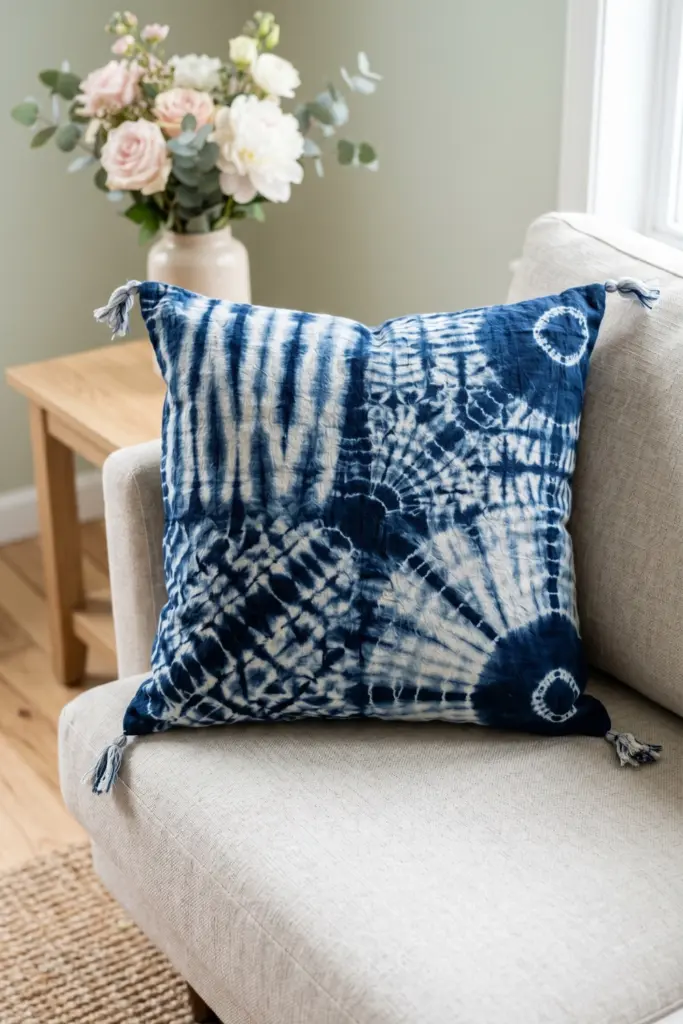
Shibori sounds fancy. It’s just folding and dipping. Each fold creates a unique pattern.
Step-by-step:
- Fold pillow cover like an accordion or twist into a rope
- Bind with rubber bands every few inches
- Dip in indigo dye bath for 5 minutes
- Remove, let oxidize for 10 minutes (color deepens)
- Rinse, cut bands, unfold. Wash separately.
Enhancements: Use multiple dip sessions for darker shades
Tip: Wear gloves. Indigo stains everything.
11. Faux Fur Accent Pillow – Buy a faux fur remnant and sew a simple envelope cover.
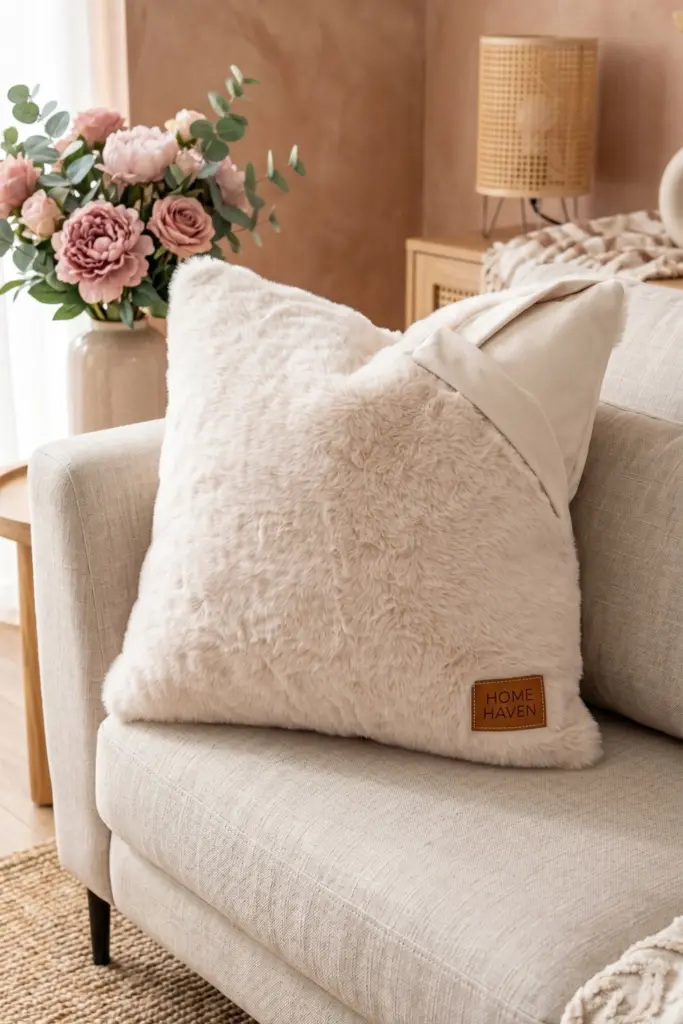
Faux fur screams luxury. Sew an envelope back (no zipper). Slip over an insert.
Step-by-step:
- Cut two fur pieces: front 18×18, back two overlapping pieces (18×12 each)
- Place fur sides together, sew edges with ½ inch seam
- For envelope back: hem one long edge of each back piece
- Overlap hemmed edges on back, pin, then sew perimeter
- Turn right side out. Insert pillow.
Enhancements: Add a leather label or patch on one corner
Tip: Sew slowly or use a walking foot – fur shifts easily
12. Patchwork Scrap Pillow – Stitch together fabric scraps in mismatched patterns for eclectic look.
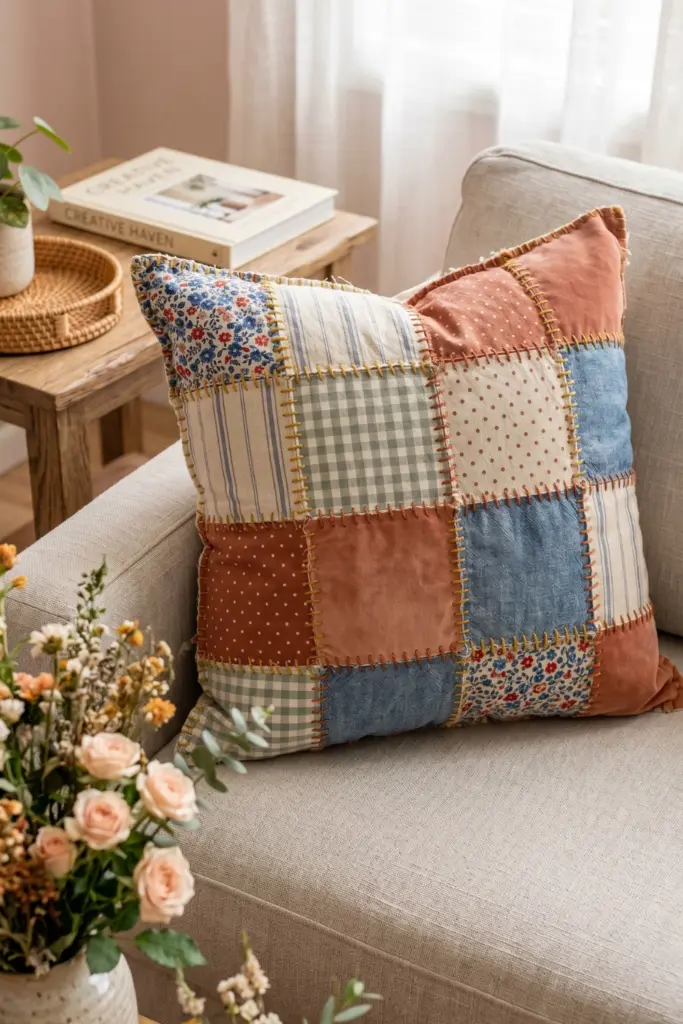
Got fabric scraps? Stitch them into a random grid. Embrace the chaos. Zero waste.
Step-by-step:
- Cut scraps into 4×4 squares (or various sizes)
- Arrange in a 4×4 grid on a table
- Sew squares together row by row, then rows together
- Iron seams flat. Attach to a plain backing.
- Insert pillow
Enhancements: Use visible contrasting thread for a raw edge look
Tip: No sewing machine? Use fabric glue and iron-on hem tape
13. Leather Strap Pillow – Glue or sew leather strips across a linen cover for modern rustic.
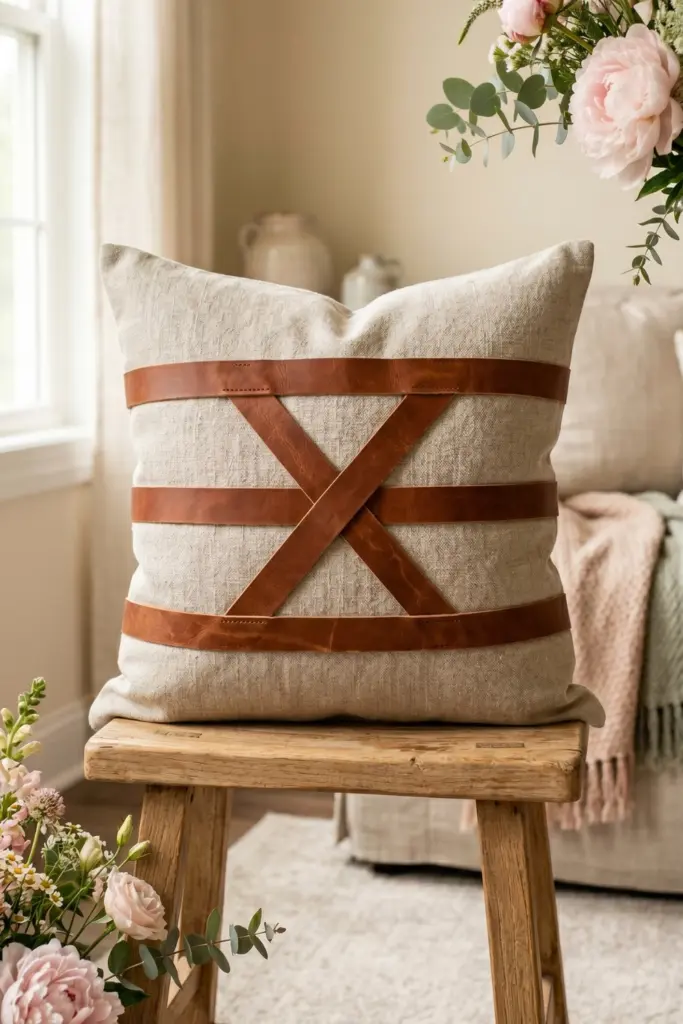
Modern farmhouse vibes. Glue leather strips across a neutral linen pillow. So striking.
Step-by-step:
- Cut leather strips 1 inch wide, slightly longer than pillow width
- Arrange 3-4 strips evenly spaced across pillow front
- Apply strong fabric glue to back of each strip
- Press firmly onto pillow, weight down with books
- Let dry overnight
Enhancements: Cross two strips diagonally for an X pattern
Tip: Faux leather is easier to cut and glue than real leather
Final Thoughts
So there you have it. Thirteen easy decorative pillows that actually look good.
The best part? You probably already own half the supplies. Scissors? Check. Old t-shirt for scraps? Check.
Start with the no-sew fringe. Or the paint dip. Or just layer what you already have (idea #7 works every time).
Don’t stress about perfection. Messy glue lines? That’s “artisanal.” Crooked tassels? That’s “whimsical.”
Your home should feel like you. Not a catalog.
Now go grab that glue gun. And maybe a snack. You’ve got pillows to make.